

In today’s digital world, keeping paperwork organized can be challenging. Whether it’s for personal or professional use, dealing with piles of documents is a hassle. That’s where CamScanner comes in. This nifty app turns your smartphone into a portable scanner, making document management a breeze. If you’re wondering how to use CamScanner on phone, don’t worry—I’ve got you covered. This guide will walk you through everything you need to know, step by step, to get the most out of this app.
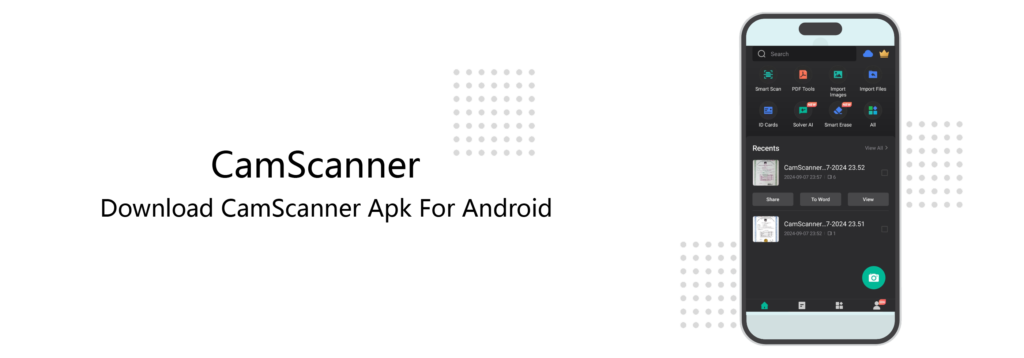

What is CamScanner?
Before we jump into the how-to part, let’s clarify what CamScanner actually is. CamScanner is a mobile app designed to let you scan documents using your phone’s camera. It’s perfect for creating digital copies of important papers, receipts, business cards, and even whiteboard notes. You can then save these scans as PDFs or images and share them via email, cloud services, or messaging apps.
The beauty of CamScanner is in its simplicity. It automatically enhances the quality of the scan, making your document look crisp and professional. Even if you take a less-than-perfect photo, the app corrects the perspective, sharpens the text, and adjusts brightness. Whether you’re a student, professional, or just trying to stay organized, this app is incredibly handy.
Installing CamScanner on Your Phone
The first step in learning how to use CamScanner on phone is, of course, getting the app installed. Whether you’re on Android or iOS, the process is super easy:
- Head to Your App Store
- If you’re on an Android device, open the Google Play Store. For iPhone users, open the App Store.
- Search for “CamScanner” in the search bar.
- Download and Install
- Once you’ve found the app, tap the Install button. The app will download and install itself on your phone in a few moments.
- Open the App
- Once installed, tap the CamScanner icon to launch the app. You’ll be greeted with a brief introduction to its features.
Setting Up CamScanner
Before you start scanning, there are a few simple steps to set up the app for the best experience:
Sign Up or Skip
When you first open CamScanner, you’ll be asked to sign up with your email, Google account, or Facebook. While creating an account allows you to save and sync your documents across devices, it’s optional. You can still use CamScanner without creating an account.
Allow Permissions
- CamScanner needs access to your phone’s camera and storage. Make sure to allow these permissions when prompted, or the app won’t be able to scan documents or save files to your device.
How to Scan a Document with CamScanner
Now for the fun part—how to use CamScanner on phone to actually scan a document. Follow these steps to scan your first document:
Open CamScanner and Tap the Camera Icon
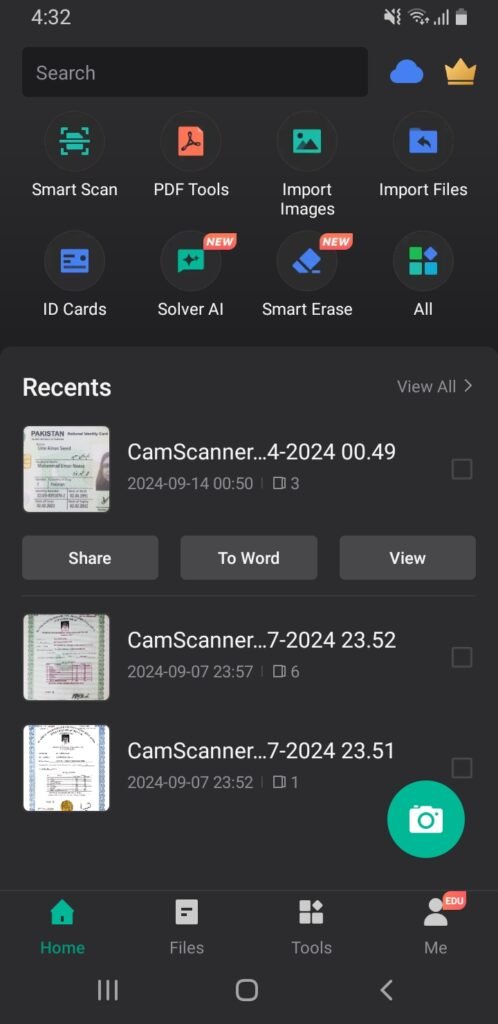
- Open the app, and on the home screen, you’ll see a large camera icon. Tap it to activate your phone’s camera.
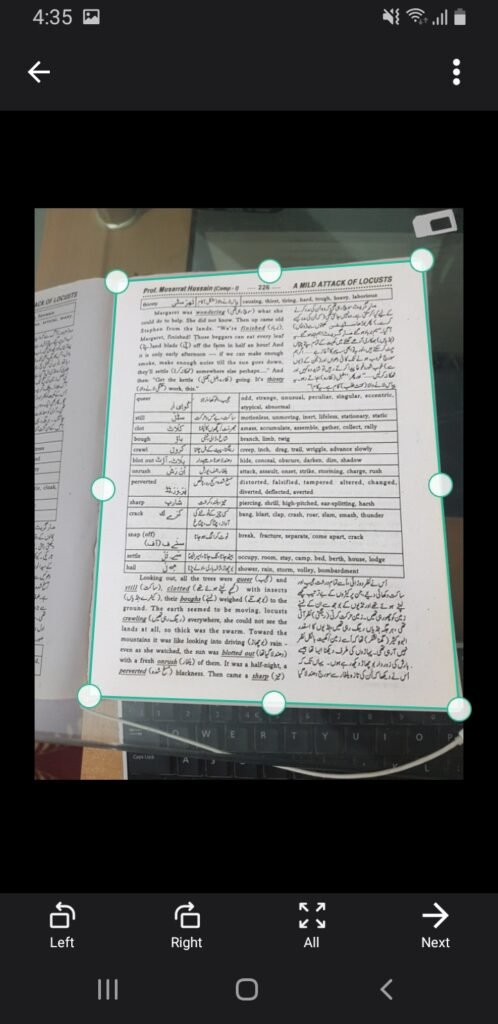
Position the Document
- Lay your document flat on a surface and position your phone so the entire document fits within the frame. CamScanner will automatically detect the document’s edges, but make sure it’s well-lit for the best results.
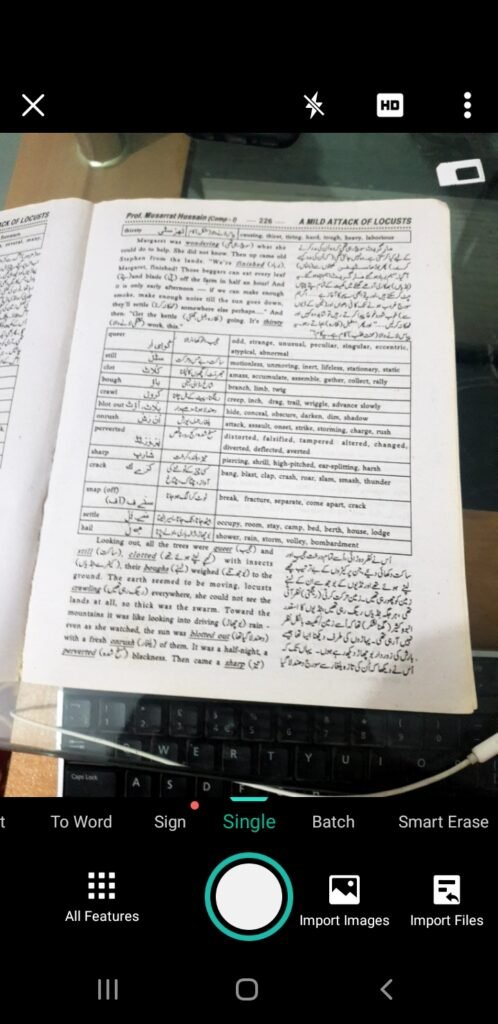
Capture the Image
Once the document is in place, tap the shutter button to capture the image. CamScanner will automatically adjust the edges and enhance the scan.
Crop and Adjust
- After capturing, you can adjust the borders of the document if needed. CamScanner usually does a great job automatically, but you can manually tweak it by dragging the corners. Hit Next when you’re happy with the crop.
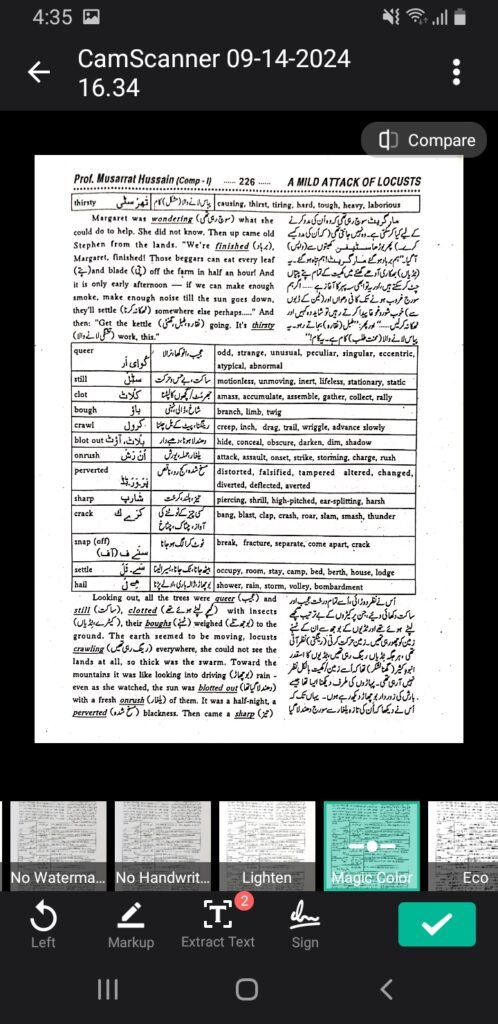
Apply Filters
- CamScanner offers several filters to enhance your scan. The “Magic Color” option is usually the best for making text pop. You can also adjust brightness, contrast, and sharpness to make the scan look more professional.
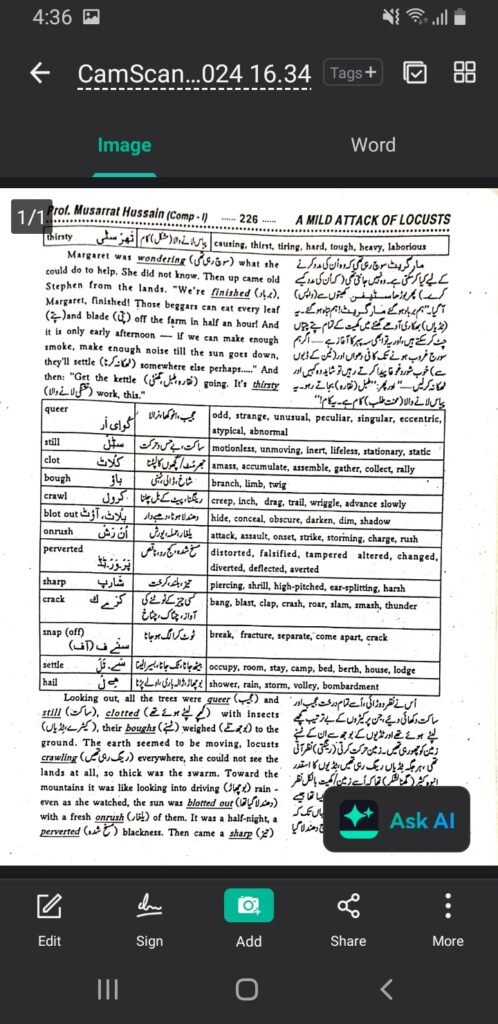
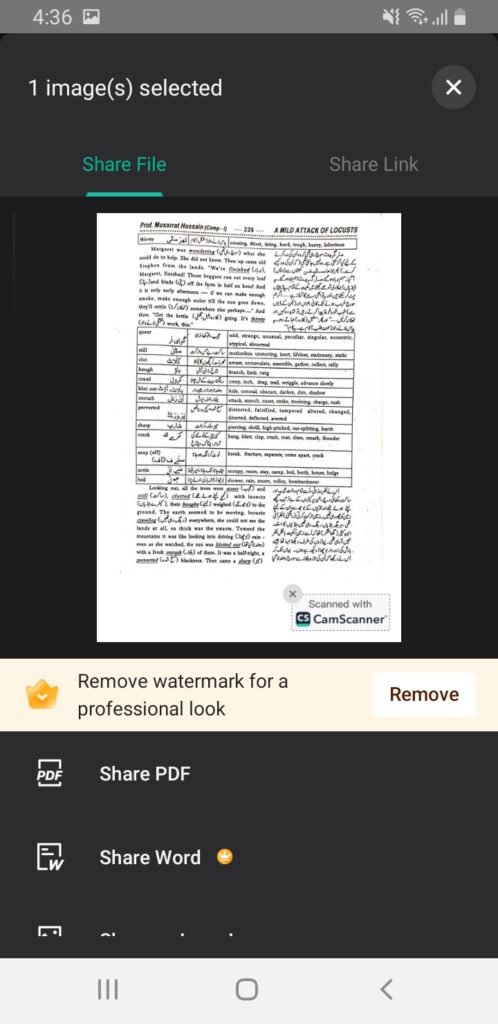
Save the Scan
- Once your document looks perfect, tap Save. You can save it as a PDF or image file. If you’re scanning multiple pages, tap the Add Page button to continue scanning more documents before saving.
Organizing and Sharing Scanned Documents
One of the best features of CamScanner is how easy it is to organize and share your scanned documents. Here’s how:
- Organizing Documents
- CamScanner allows you to create folders to keep your scans organized. On the home screen, you can create a new folder by tapping the New Folder icon. This is especially useful if you scan documents frequently and want to keep personal and work files separate.
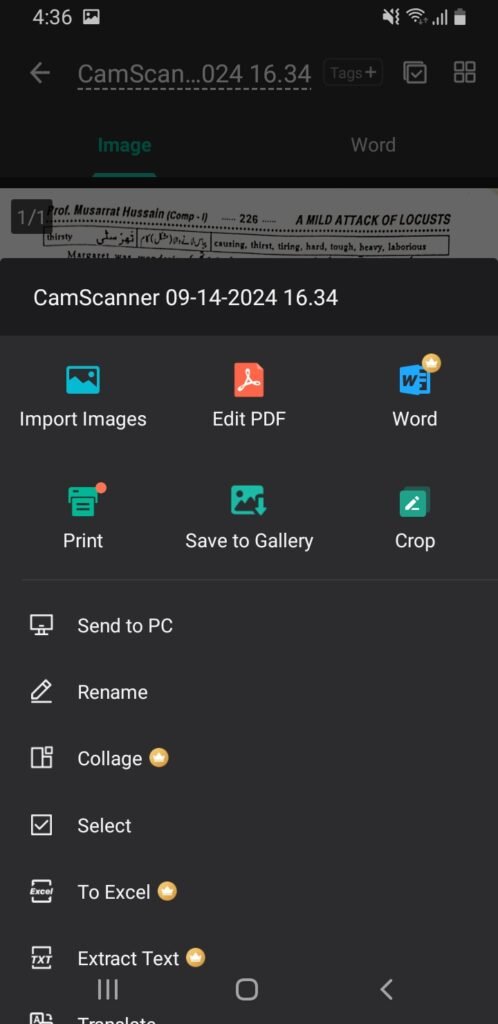
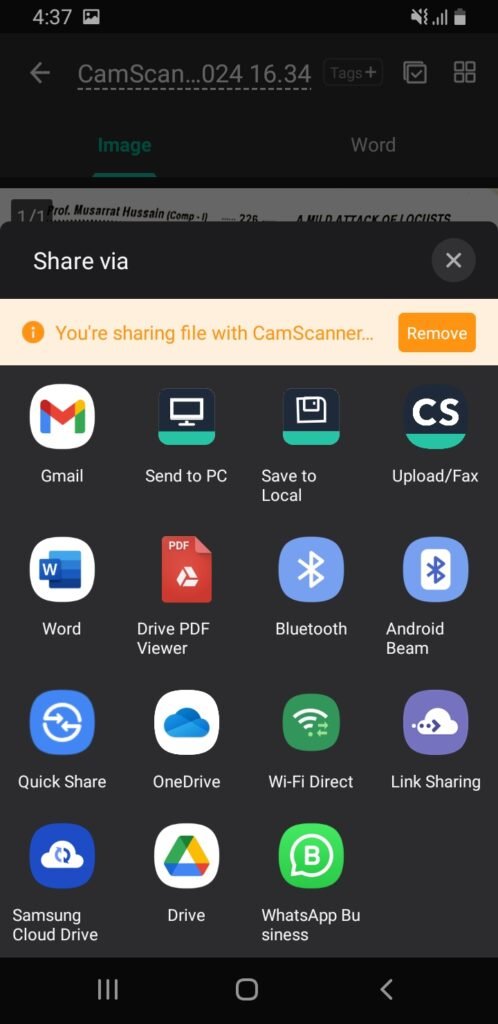
- Sharing Your Scan
- To share your scan, open the document and tap the Share button. You can share via email, messaging apps, or even upload it directly to cloud services like Google Drive, Dropbox, or iCloud. CamScanner also lets you send documents as a fax if needed.
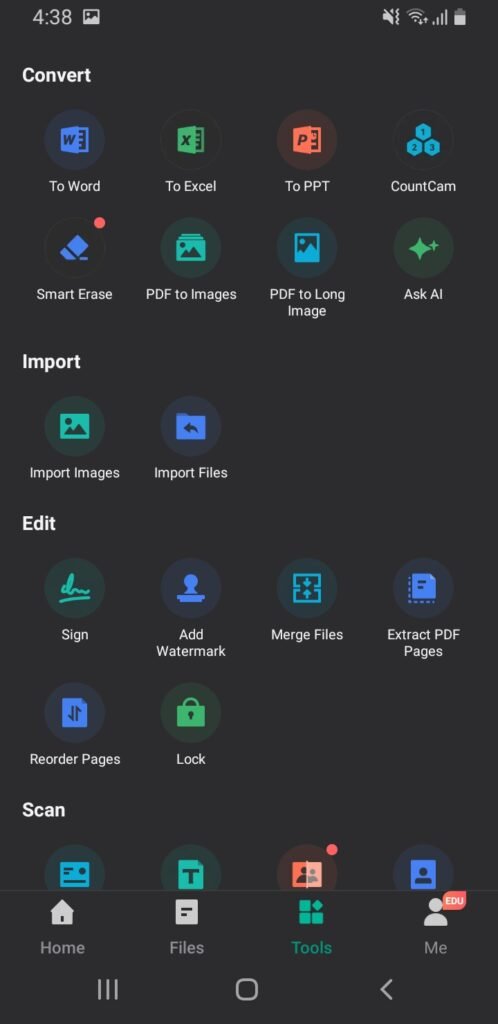
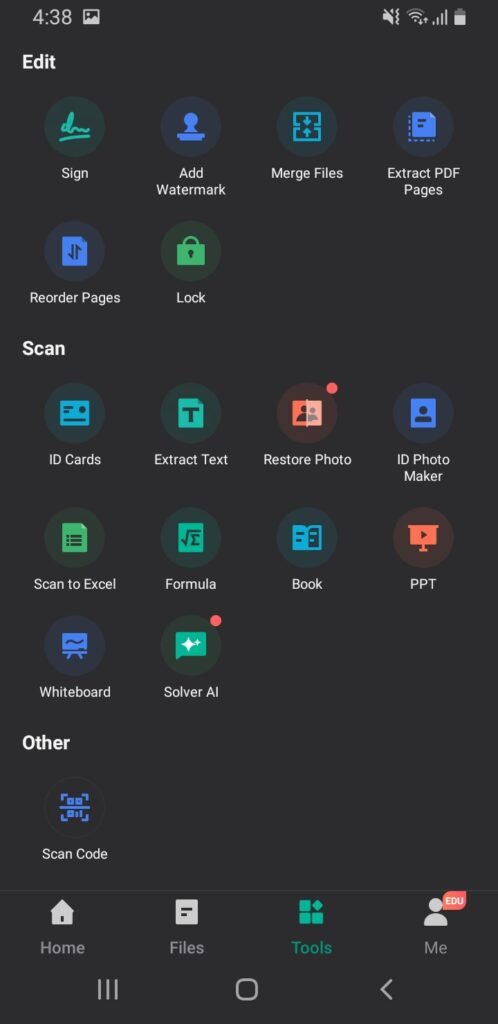
Advanced Features of CamScanner
CamScanner isn’t just for basic scans. The app comes packed with advanced features that make document management even easier. Let’s take a look at a few:
- OCR (Optical Character Recognition)
- This feature allows you to extract text from your scanned documents. OCR is incredibly useful if you need to copy and paste text from a physical document into a digital format. Simply open a scan, tap the OCR button, and CamScanner will identify any text in the image.
- Document Collaboration
- Need to work on a document with a team? You can invite collaborators directly through the app. Open the scan, tap the Collaborate button, and invite others to view or edit the document.
- Watermark and Annotation
- CamScanner also lets you add a watermark to your scans for extra security. You can annotate the document by adding text, shapes, or even freehand drawings.
How to Use CamScanner for Multipage Scanning
If you need to scan a document with multiple pages, CamScanner makes it simple:
- Tap the Camera Icon
- Just like before, tap the camera icon on the home screen.
- Scan Your First Page
- Capture the first page of your document.
- Add Additional Pages
- After saving the first page, tap the Add Page button. Repeat the scanning process for each additional page.
- Save as a Multipage PDF
- Once all pages are scanned, save the document as a PDF. This ensures that all pages stay together in a single file.
How do I scan in high resolution?
CamScanner automatically enhances the resolution of scans, but to ensure the best quality, use good lighting and avoid shadows. You can also adjust the resolution settings in the app’s preferences.
Is CamScanner free?
Yes, the basic version of CamScanner is free to use. However, some features, such as cloud syncing and advanced OCR, are available only in the paid version.
How do I email a scanned document?
After scanning, open the document and tap the Share button. Select Email from the options, and the app will attach your document to a new email message.
How to use CamScanner on phone?
To answer the question, how to use CamScanner on phone, follow these simple steps to get started:
1. Download and Install CamScanner
Head to the Google Play Store for Android users or the App Store for iPhone users. Search for CamScanner and download the app. Once installed, open it on your phone to begin.
2. Grant Necessary Permissions
After opening the app, you will be asked to grant permissions to access your phone’s camera and storage. This is necessary for taking photos of documents and saving them as files on your device.
3. Tap the Camera Icon to Start Scanning
To scan a document, simply tap the camera icon on the home screen of the app. Position your phone over the document, and CamScanner will automatically detect the edges of the page.
4. Capture the Document
Tap the shutter button to capture the document. CamScanner will then adjust the image, crop the borders, and enhance the quality of the scan.
5. Save and Share the Document
Once you’ve scanned the document, you can either save it as a PDF or image file. CamScanner also allows you to share your scanned document via email, messaging apps, or cloud services like Google Drive or Dropbox.
These simple steps make it easy to learn how to use CamScanner on phone, allowing you to quickly and efficiently scan, save, and share important documents.

Wrapping It Up
That’s it! Now you know how to use CamScanner on phone to scan, save, and share your documents like a pro. Whether you’re scanning a single page or an entire report, CamScanner makes it easy to keep your paperwork organized and accessible. So go ahead, give it a try, and see how much simpler document management can be.
Add image here (Final view of a scanned document)